hours left for
same day shipping

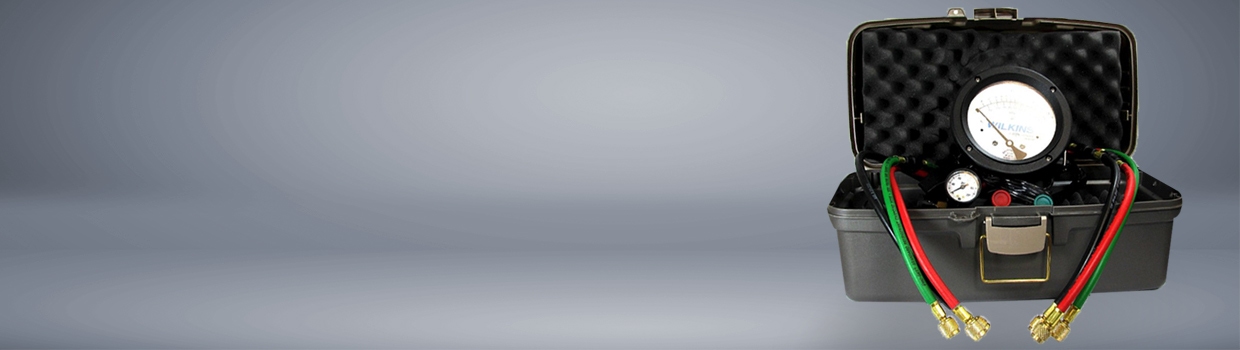
Backflow preventer test kits are compact, lightweight, and portable testing devices. Our backflow test kits can be used for reduced pressure zone, double check valve, spill-resistant vacuum breakers, and pressure vacuum breaker backflow preventers.