hours left for
same day shipping


Sprinkler repair parts are essential for maintaining your system's efficiency, no matter how dependable and top-rated the product or brand. We carry irrigation repair parts of all styles and sizes for valves, rotors, sprays, backflows, and any system component so you can get exactly what you need exactly when you need it. Keep your system ticking with our sprinkler repair parts that get the job done quickly, so you can get back to enjoying the outdoors.
Our lineup of sprinkler repair parts and brands is hands down the best around. From Hunter to Febco to Blue Heron, we keep our warehouse stocked with the irrigation and landscaping industry’s most reliable names to ensure you’re receiving the absolute best that lawn care has to offer.
Our Sprinkler Warehouse how-to videos and articles outline how to repair irrigation products without hiring a contractor as well as the sprinkler repair parts needed for a successful DIY fix. Swing by our Sprinkler School video and article library for easy-to-follow demonstrations on your favorite products. Check out this Sprinkler School video to learn how to replace a Wilkins 720a PVB backflow preventer.
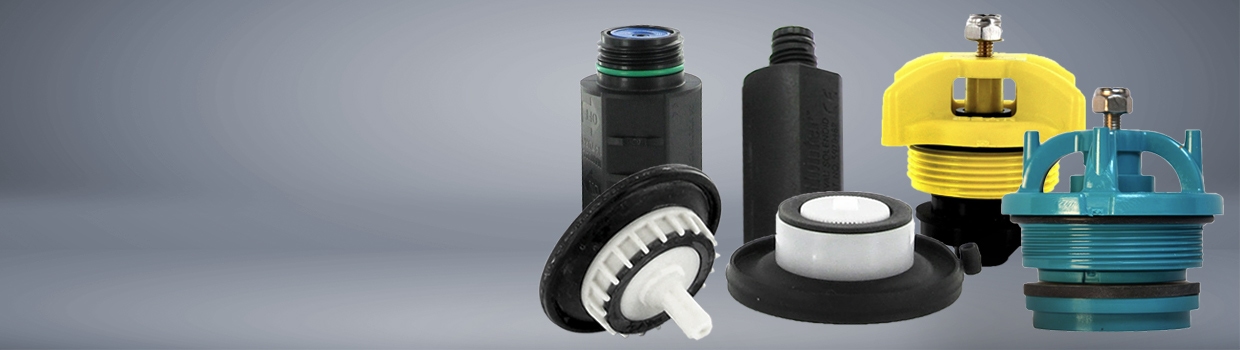
To fix a leaking sprinkler valve, you’ll typically need repair parts such as a replacement diaphragm, O-rings, or a new solenoid. These parts address common causes of leaks and are available in sprinkler valve repair kits. It’s essential to match the parts with your specific valve model to ensure compatibility and a proper seal.
To use the Febco PVB Check Assembly Kit, first turn off the device’s water inlet valve. Next, open the test cocks and remove the bell, bonnet, poppet, spring and check valve. Once these parts are removed, insert the new check valve and reinsert the new PVB internal parts in the reverse order that you originally removed them. Lastly, open the inflow valve and close the test cocks.
The first step to repairing your fault diaphragm is to turn off the sprinkler water supply. Next, unscrew the valve bonnet from the valve body and remove the valve bonnet assembly and spring. Once the valve bonnet assembly and spring are extracted, gently pry the damaged diaphragm out of its seat and flush out the valve body and seat with clean water. After that, you’ll need to press in the new diaphragm and replace the spring and the valve bonnet. Finally, tighten the screws, turn on the water, and check for leaks.