hours left for
same day shipping

Rotary nozzles help reduce water waste and simplify system design. Rotary nozzles feature low precipitation rates, uniform water distribution, and increased the watering radius. Most nozzles are color-coded for easy identification, and are available in multiple distances and patterns, providing you with a variety of system configurations.
Most nozzles are color-coded for easy identification, and are available in multiple distances and patterns, providing you with a variety of system configurations.
Watch these videos to learn more about nozzle replacement.
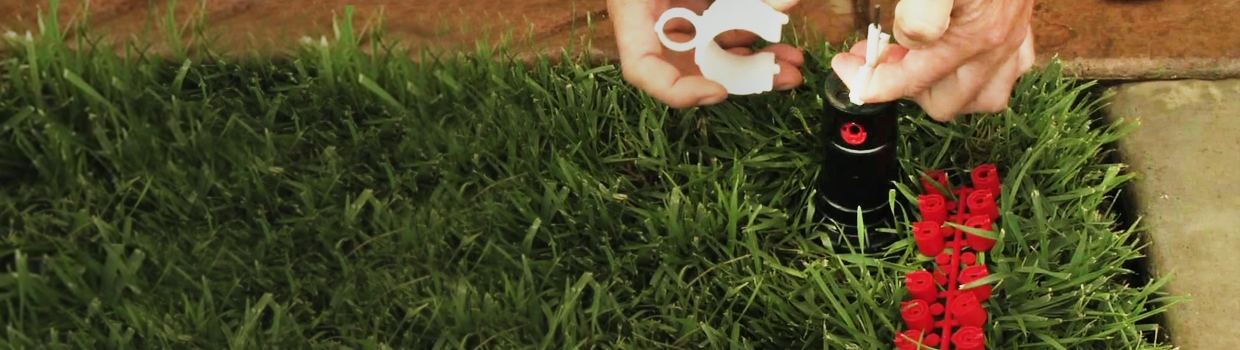
To replace a rotary sprinkler nozzle, you’ll need a small flathead screwdriver and occasionally a pair of needle-nose pliers. Start by turning off the water and locating the old nozzle. Remove the old rotor nozzle by lifting the sprinkler riser and loosening the set screw with a screwdriver. Now it’s time to add the replacement rotary sprinkler nozzle. After inserting and tightening the new piece, you can adjust the spray pattern and distance to your liking.
Choosing the right rotor nozzle helps ensure proper coverage and minimal water waste. Be sure to select a replacement rotor nozzle that can accomplish the necessary spray distance and spray angle that you need. You should also consider the new nozzle’s GPM flow rate and water pressure requirements.
Rotor nozzles distribute water more efficiently than traditional spray heads. Many modern rotor nozzles provide slow, uniform water application, reducing runoff and allowing the soil to absorb moisture better. Additionally, matched precipitation rate (MPR) nozzles ensure even watering across different zones, preventing overwatering.
Rotor sprinklers can spray between 15 to 50 feet, depending on the nozzle type, water pressure, and model. Most residential rotors cover up to 40 feet, while commercial or large-area rotors can reach up to 70 feet. Adjustments to the nozzle size and pressure settings can help fine-tune the spray distance for optimal coverage.